Baking
Master the Art of Bread Baking with a Banneton Proofing Basket
If you’re an avid home baker or just starting your journey into the world of artisan bread, you’ve likely come across a banneton proofing basket. These beautiful, natural cane baskets are more than just a charming baking accessory—they’re an essential tool that helps you achieve the perfect loaf every time. In this blog, we’ll explore what a banneton proofing basket is, its benefits, and how to use it effectively in your baking routine.
What Is a Banneton Proofing Basket?
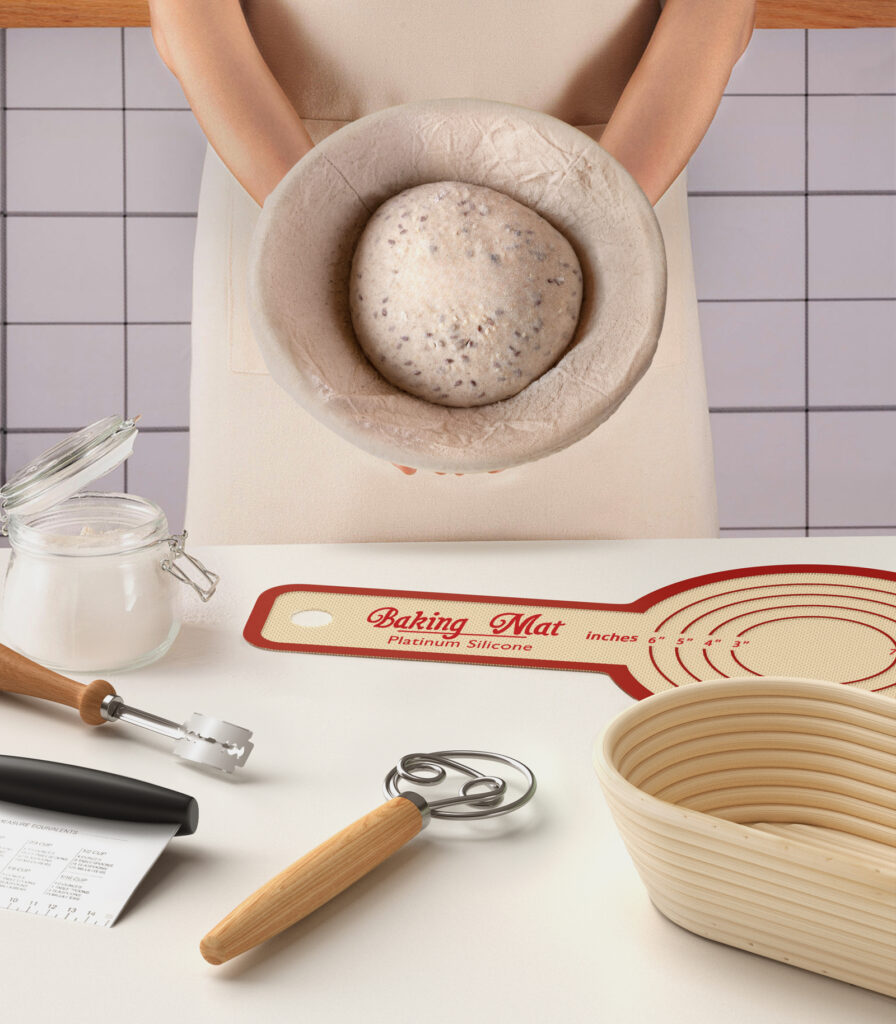
A banneton proofing basket, also known as a brotform or bread proofing basket, is a specially designed basket used to support the shape of the dough while it undergoes its final rise before baking. Traditionally made of natural rattan, these baskets provide a structured environment for the dough, helping to create that classic round or oval shape we all love in artisanal bread. Banneton baskets also create those beautiful spiral flour patterns on the surface of your bread, adding a rustic and professional touch.
Benefits of Using a Banneton Proofing Basket
- Improves Dough Shape: Soft, hydrated doughs can spread out if not properly supported during proofing. A banneton helps maintain the dough’s shape, resulting in a loaf with better volume and structure.
- Creates a Crispy Crust: The rattan material absorbs excess moisture from the dough’s surface, creating the ideal conditions for a crispy, golden crust once baked.
- Adds Aesthetic Appeal: The spiral pattern that the banneton imprints on the dough gives your bread a beautiful, artisanal finish that elevates your presentation.
How to Use a Banneton Proofing Basket
- Prepare the Basket: Before using a banneton, it’s essential to dust it generously with flour. This prevents the dough from sticking. For extra insurance, use a mixture of all-purpose flour and rice flour, which is less likely to absorb moisture and stick to the dough.
- Shape and Proof the Dough: Once your dough is shaped (typically into a round boule or an oval bâtard), place it seam-side up into the floured banneton. Cover it with a cloth and let it rest during its final proofing stage. This is when the dough rises and develops its final structure.
- Transfer to Bake: When it’s time to bake, carefully turn the dough out onto a baking surface, such as a preheated baking stone or a Dutch oven. The dough should easily release from the banneton, leaving behind the lovely spiral imprint.
- Bake: Score the top of your dough with a bread lame or sharp knife to allow it to expand while baking. Bake as per your recipe, and watch as your loaf rises beautifully in the oven, thanks to the structure provided by the banneton.
Tips for Maintaining Your Banneton
- Cleaning: Avoid washing your banneton with water unless absolutely necessary. Instead, tap out excess flour after each use, and brush off any dried bits of dough. If needed, use a dry brush to clean the crevices.
- Drying: After use, ensure your banneton is completely dry before storing it. You can leave it in a warm, dry area or place it briefly in a low-temperature oven to make sure there is no retained moisture, which could lead to mold growth.
- Storing: Store your banneton in a well-ventilated place, keeping it dry and ready for the next bake.
Creative Uses for a Banneton
While bannetons are traditionally used for proofing bread, they also make for great kitchen décor. Their natural look adds a rustic charm to your kitchen, and they can be used to hold fruits or vegetables when not in use for baking.
Conclusion
A banneton proofing basket is an invaluable tool for anyone serious about bread baking. It not only provides structure to your dough but also helps to create a perfectly crispy crust and an artisanal aesthetic. Whether you’re a professional baker or a home baking enthusiast, a banneton will elevate your bread game, allowing you to craft beautiful and delicious loaves right in your kitchen.
So, get ready to take your bread from simple to spectacular. Happy baking!
